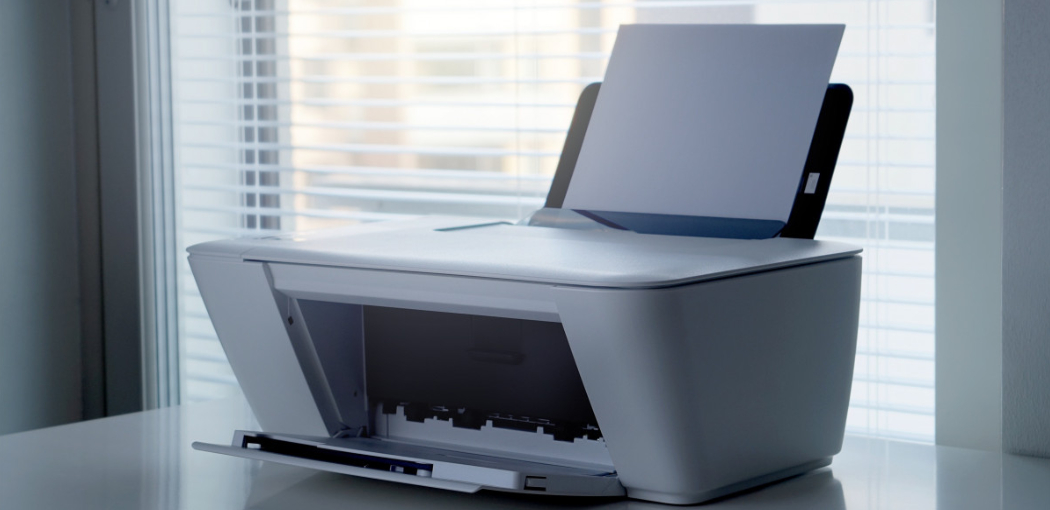
Are you Printing for the First Time? or have you been printing for a while and need a refresher? Either way, this blog post is for you! Here we will go over how to place paper in printer. Then, we will show you how to properly place paper in your printer so that you can start printing right away.

There are various types and sizes of printers, and each one has its specific way of loading paper. In this blog post, we’ll give you a step-by-step guide on properly loading paper into your printer. Whether you have a small desktop printer or a large commercial machine, this guide will help you get the job done quickly and correctly. So let’s get started!
Step by Step Instructions: How to Place Paper in Printer
Step 1: Lift Up the Printer’s Lid.
Check if there is any paper loaded inside the printer. If there is, remove it by gently pulling it out. If the paper is jammed, refer to your printer’s manual on how to remove it without damaging the machine.
Step 2: Check the Paper Size and Type Settings.
There are usually settings for both the size and type of paper loaded inside on your printer. Take a look at these settings and make sure they match the paper loaded inside your printer. The most common sizes are letter (8.5″ x 11″) and A4 (8.3″ x 11.7″).
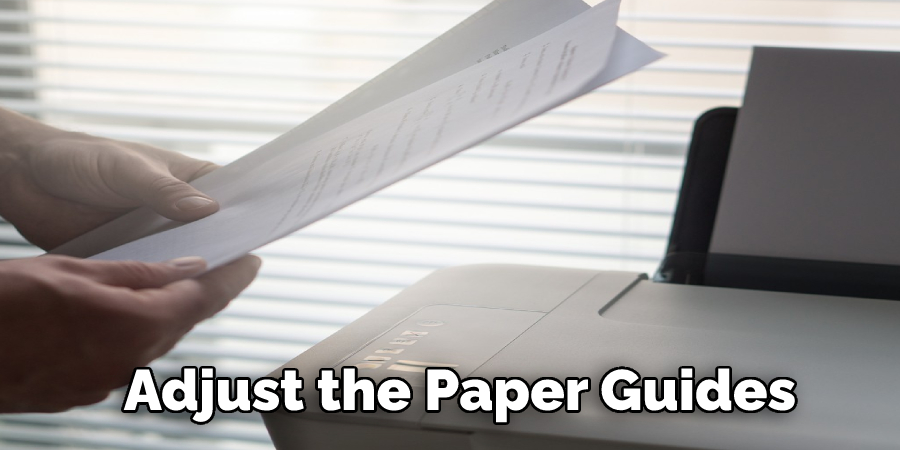
Step 3: Adjust the Paper Guides.
Once you’ve confirmed that the size and type settings match the paper in your printer, it’s time to adjust the paper guides. These are the little flaps on the sides of the paper tray that help keep the paper in place. For letter-size paper, you’ll want to adjust the guides, so they sit just inside the edges of the paper. For A4 paper, you’ll want to adjust the guides, so they sit about 1/4″ in from the edge of the paper.
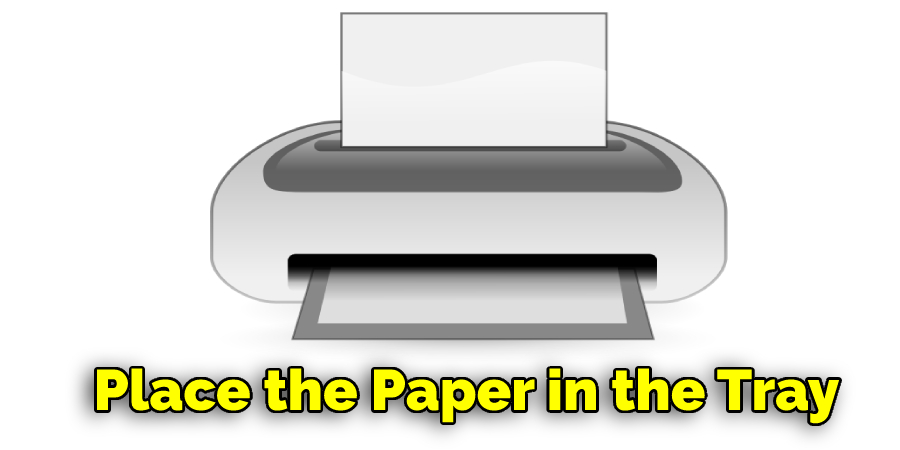
Step 4: Place the Paper in the Tray.
Now that the guides are set, it’s time to place the paper in the tray. Make sure that the print side of the paper is facing down. If you’re unsure which side is the print side, look for a watermark or a difference in texture on one side of the paper. Once the paper is placed in the tray, gently push it back until it stops.
Step 5: Close the Paper Tray.
After placing the paper in the tray, it’s time to close the paper tray. This will help keep the paper in place and prevent it from getting jammed in the printer. If your printer has a separate paper feeder, repeat these steps for that tray.
Step 6: Select Your Printer.
Now that you’ve loaded the paper into your printer, it’s time to select your printer in your software program. This is usually done by selecting “File” and then “Print” from the top menu bar. A new window will pop up with a list of available printers. Select your printer from the list and then click on the “OK” button.
Step 7: Print Your Document.
Once you’ve selected your printer, it’s time to print your document. In the “Print” window, you’ll see several options that you can select. For most documents, the default settings will work just fine. But if you need to make changes, feel free to do so. When you’re ready to print, click on the “Print” button and wait for your document to come out the other end.
Now that you know how to place paper in your printer, it’s time to get printing! First, remember to adjust the paper guides for the correct paper size and type and select your printer in your software program. Once those are set, you’re ready to print.
Some Helpful Tips to Maintain Your Printer:
1. Always use high-quality paper in your printer to ensure the best printing results.
2. Be sure to regularly clean your printer’s rollers and other internal components to help keep it running smoothly.
3. When loading paper into your printer, make sure that the printed side is facing down and that the edges of the paper are aligned with the paper guides.
4. To avoid paper jams, never try to force more paper into the printer than it can accommodate.
5. Use the type of paper recommended by your printer’s manufacturer for the best results.
6. If you’re having problems with your printer, try resetting its settings to their default values.
7. If all else fails, you may need to call a technician to help resolve the problem.
Few Common Mistakes to Avoid When Placing Paper in Printer:
1. Not Checking the Size of the Paper:
One of the most common mistakes people make is not checking the size of paper that their printer can handle. Most printers can only handle standard sizes such as A4, A5, and letter-sized paper. If you try to put anything else in, the printer will likely either reject it or print very slowly.
2. Failing to Remove Any Debris From the Input Tray:
Before you start putting paper into the printer, it is important to check the input tray for any debris. If there is any dirt or dust in the tray, it could affect your printouts.
3. Not Checking the Paper Orientation:
Another common mistake is not checking the paper orientation. This refers to the way that the paper is positioned in the tray. Most printers will have an arrow or a line indicating the way the paper should be facing. If you put the paper in the wrong way, your printouts will likely be of poor quality.
4. Putting Too Much Paper in the Tray:
One of the most common mistakes people make is putting too much paper in the tray. This can cause several problems, such as the printer not being able to pick up all the pages or the pages getting jammed.
You may read also How to Cut 100 Sheets of Paper
Conclusion:
Although loading paper into a printer may seem like a simple task, there are a few steps that can help ensure the process goes smoothly. By following these tips on how to place paper in printer, you can avoid frustration and wasted time and get your print jobs done quickly and easily.
If you still have trouble loading paper into the printer, consult your printer’s manual or contact the manufacturer for more help. Have you tried any of these methods for loading paper into your printer? Do you have any additional tips to share? Let us know in the comments below.
Check It Out :