One of the most underrated life skills is being able to cut a stack of paper with precision and ease. It may seem like a simple task, but it can be highly challenging if you don’t know how to do it properly. In this article, I will teach you how to cut 100 sheets of paper quickly and effortlessly. So please sit back, relax, and let me show you how it’s done!

Cutting sheets of paper is like cutting through butter with a hot knife. You can’t just start hacking at it, or else you will ruin the whole stack. So instead, it’s all about being delicate, precise, and taking your time.
Tools and Materials:
- Scissors
- Ruler
- Pencil and eraser
- Paper, as many as you want to cut! (the more, the better)
A Step by Step Guide on How to Cut 100 Sheets of Paper
Step 1: Determine How You Will Cut Your Paper
There are a few ways to cut the paper, some valuable than others. The first option is to use a large pair of scissors and cut everything by hand. This would be an excellent way to cut smaller pieces of paper into squares or rectangles for crafts or origami. Another widely used but not as accurate option is tearing the paper on a cutting board or folding it in half and then going back and forth with scissors (also known as “snip and rip”).
However, the most effective method, which also yields the cleanest cuts, uses one sheet of paper per cut. This makes it much easier to get to 100 sheets because each stack will be more even, and each cut will be very straight. How you choose to cut your sheets is really up to you. Just make sure it’s something that can deal with 100 pieces of paper!
Step 2: Determine How You Will Sort Your Sheets
There are a few ways to sort the sheets, some being more useful than others, but all having similar results. If I had to use one word to describe how the stacks should look after sorting, it would be “neat.” Keep them as organized as possible to stay neat as you cut them and keep things simple for yourself!

The first option is to gather the sheets in a pile on a flat surface and go through them one by one. This would be an excellent way to sort if you only cut a few sheets or have very large sheets. The second option involves sorting the stacks by size, usually with an equal number of sheets in each stack.
This is also possible but can become more difficult as the stacks get more significant and fewer pages are left over for the smaller ones. The most effective method is to sort them into piles with about 10-20 pages.
This makes it much easier to get to 100 because you won’t have nearly as many leftover sheets at the end of your process! How you sort your paper is up to you, but make sure it’s something that will work well with however many sheets you decide to cut!
Step 3: Cut 100 Sheets of Paper
Now that you have all the materials and sorted your stack, it’s time to cut the paper! The most basic way is just cutting along one side with a pair of scissors or rotary cutter. This will take some time, though, so I suggest unfolding between 10-20 sheets at a time.
Before making cuts, make sure they are straight by aligning them against something. Next, fold one sheet in half lengthwise (short sides together), then ensure that the fold is still aligned with what you used as your guide before slowly bringing down your blade inside the crease. You should end up with two long strips.
Repeat this process on every stack of 10-20 sheets. How long this takes is up to you! Some people prefer to cut 100 pieces of paper in under an hour, while some prefer to take their time and do it over a few days. How you cut, your 100 sheets will depend on how much free time you have and what you are using them for.
Step 4: Put Away Your Scissors/Rotary Cutter
Now that all the cutting is finished, there’s only one thing left to do: put away your tools! Ensure they are stored in an appropriate location; don’t clog up your space with stuff that isn’t being used anymore! How you keep these items depends on whether they came as one piece or several.
If it’s one piece, all you need to do is put the long accessory in the same spot every time to know where to find it next time! If they were several pieces, store them somewhere near each other so that there is always less searching involved when you want to use them next! How you put away your item depends on whether or not it came in one piece or multiple.
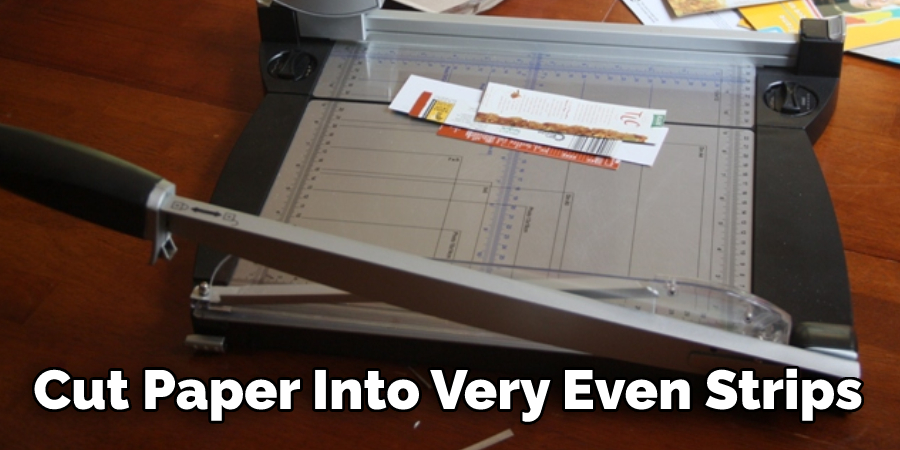
Once they are stored, step back and admire your work! You just finished cutting 100 sheets of paper into very even strips. How long this takes is up to you, but I hope this helps make your life a little easier! How you store your tools depends on whether or not they came as one piece or multiple.
How you put away items made into several pieces should depend on their storage capabilities; some can be stored in complex formations, while others will need to remain flat so they don’t hurt anyone! These steps will help in how to cut 100 sheets of paper.
How to Cut Paper With a Knife?
There is a reason why paper cutting and origami are so popular among children. It’s fun, challenging, and requires minimal supplies to get started.
It may look like the easiest thing in the world, but it can be difficult – especially when you want to cut more than one piece of paper.
Take a sheet of paper and fold it in half lengthwise. Unfold after that and place another sheet of paper on top of your folded one (this will ensure that your papers stack neatly). Fold both sides toward the center, keeping contact between the two sheets as you do this.
Fold the sheet in half, bringing together the two ends a short distance apart (but not overlapping). Next, fold it in half at one end, take fold two and fold it to meet over fold 1.
Repeat on the other side – you should now have a square shape with four folds meeting in the center. Continue folding all four points into the center, but be sure to keep contact between them as you go along. This will ensure that your paper is appropriately layered.
When finished folding, unfold completely and cut both sheets of paper at once by pressing down firmly with your knife while holding both pieces of paper securely against each other. Make sure you hold down one piece of paper tightly so that they don’t slip. You can even use a cutting board to help you with this.
Grab the top part of the stack and quickly move it underneath where you are holding it. Then, repeat on the other side.
Now that your paper is cut, you can enjoy the fruits of your labor!
By using this method, you’ll be able to cut more than one sheet of paper at a time while making sure they stay together in one piece. For example, make some origami boxes or flowers by folding some sheets of paper in different ways before starting – this will make cutting them easy for you!
What Is a Guillotine Cutter??
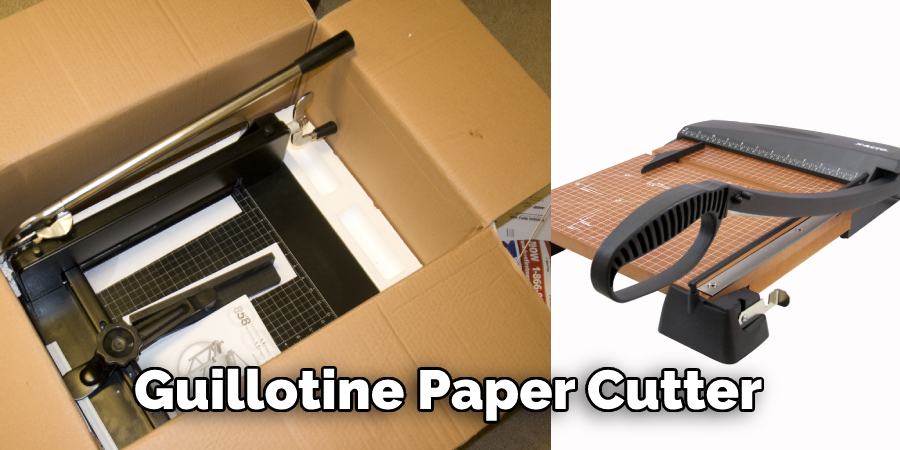
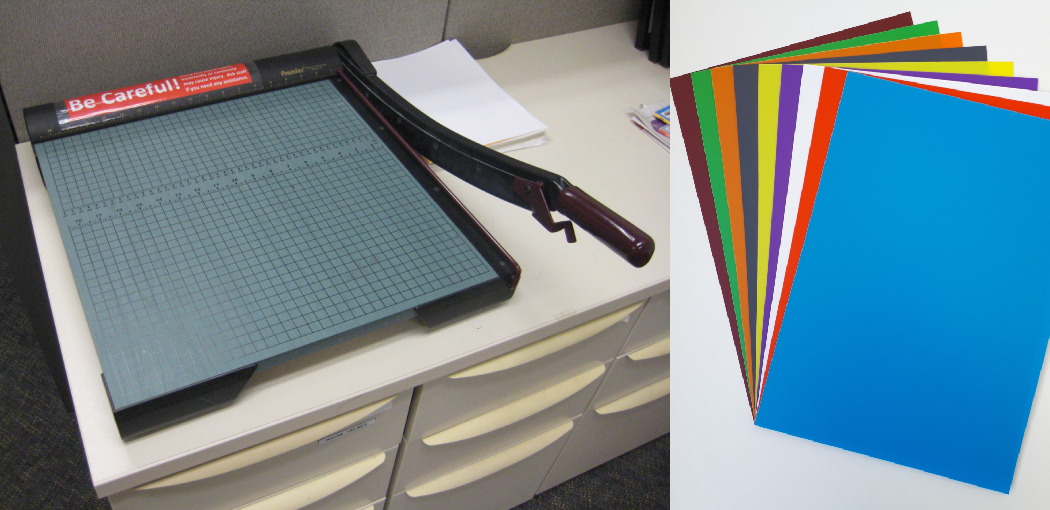
A guillotine paper cutter is a heavy-duty cutting tool that often serves double duty in offices, schools, and other sites where lots of paper needs to be cut. The machine’s base usually allows line-ups of stacked or prepared sheets to be efficiently run through the machine via a manual or automated process. Some models have an adjustable blade, so you can buy replacement blades down the road when they get dulled out by all the paper cuts. The construction material varies widely, but most are built to last long enough, so your office or school won’t need another one for ten years at least.
Conclusion:
We hope you have learned how to cut 100 sheets of paper. If you want to cut 100 sheets of paper, there is a simple trick. You could use your hands and start cutting them one by one, but that would take forever! Instead, the best way to do it is to stack all the sheets on top of each other and then fold them half like an accordion. Then slice through both stacks at once with scissors or another sharp blade.
There are many more ways you can utilize this neat little folding technique when it comes time for projects around the house (especially since we’ve mentioned how much easier they make things)! But if you ever need help finding new tricks like these, our experts will be happy to share their expertise with you because we love sharing tips about getting things done more efficiently.
You may read also How to Make a Book Stand Out of Wood