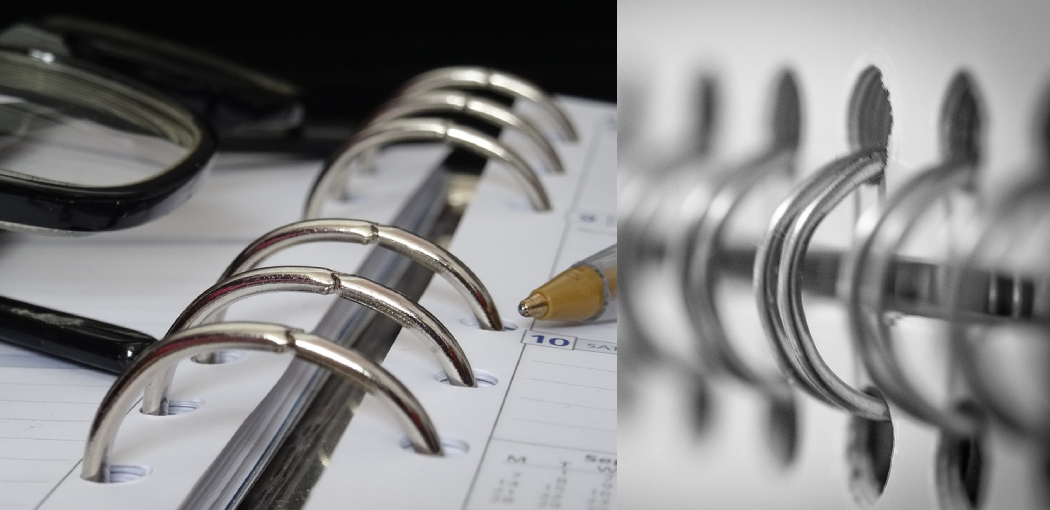
Regular use can cause binder rings to warp and loosen, but you can keep them in good condition and your papers securely fastened with a few easy steps. In this article, we’ll give you some helpful information on how to fix binder rings. Read on for more!

Binder rings are a staple in offices and homes across the world. While they are very efficient at keeping large amounts of papers together, binder rings can become loose or warped with lots of use. Sometimes, we need to close up these rings and open them, which causes problems.
Things You’ll Need:
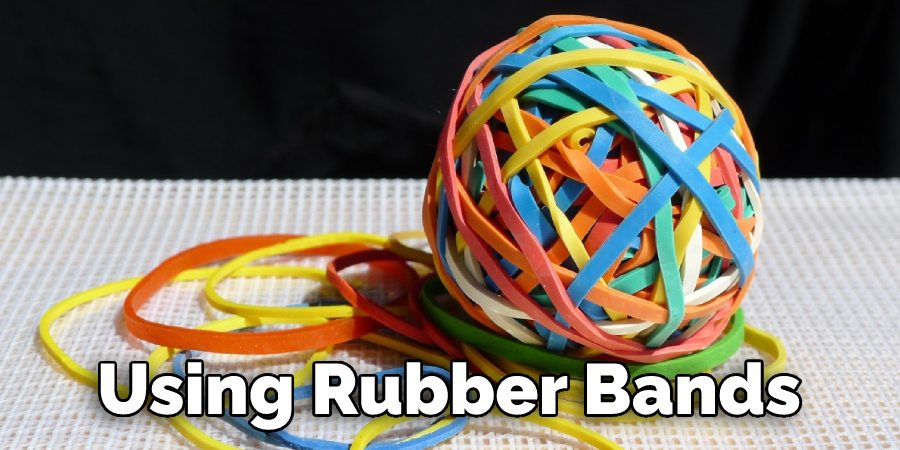
- Two rubber bands
- A binder ring with a loose hinge
- An old credit card
- Needle nose pliers
- Scissors or side cutters for the needle nose pliers
A Detailed Guide on How to Fix Binder Rings
Step 1: Determine How Badly Loose the Binder Ring Is
You should be able to determine how loose your binder ring is by pressing on it with your fingers. If you think you have a loose hinge, you can try pushing it closed with your fingers. If the hole in the top of the ring is significantly larger than one-half its diameter, it may be easier for you to get another binder ring and skip to step three.
How bad your binder ring is will decide what materials and equipment we use during this process. Likewise, how badly damaged the hinge is will determine which rubber band material we use during this process, so pay attention closely.
Step 2: Determine How Badly Damaged is the Binder Ring Hinge
If it is not too damaged, you may be able to fix this binder ring using rubber bands. However, if the damage to the hinge of your binder ring is significant or if you want a more permanent solution, skip stepping three. How badly damaged your hinge will determine which rubber band material we use during this process, so pay attention closely.
If the metal in your binder ring hinge has snapped in half, you will need two rubber bands that are slightly smaller than the circumference of your binder ring’s opening for best results when tricking it back into shape.
For instance, if your binder ring has an opening that is six inches wide, you will need two rubber bands that are slightly smaller than six inches in circumference (about five and a half inches). How badly damaged your hinge will determine which rubber band material we use during this process, so pay attention closely.
Try using a thicker rubber band if the metal in your binder ring hinge has snapped but stays together as a unit for reasons unknown to me. If you have a binder ring that has an opening that is about eight or nine inches wide, I would recommend using one larger rubber band instead of two smaller ones due to the fact it’s easier to hide these larger elastic rings inside your old binder ring’s hollow-core as opposed to two small ones.
How badly damaged the hinge is will determine which rubber band material we use during this process, so pay attention closely.
Step 3: Fix Binder Rings Using Rubber Bands
Take your two smaller rubber bands and place them under the binder ring’s opening, with small portions of each band’s circumference overlapping. Next, take some credit card or a plastic card that is not important anymore and feed it through the top portion of the overlapping rings until you can secure it on top.
Use another rubber band if necessary for added security before doing anything else. This will be the first rubber band lock on your binder ring that will hold everything in place while you fix the hinge using the second set of smaller rubber bands. First, take one small rubber band between one of the binder ring’s hinges. Next, take another rubber band and slide it between the other end of your first small band and the metal portion of this hinge. This should be extremely easy. You’ll know why in a minute.
Ensure that the second set of rubber bands you used for this step is between these two hinges and in a knot. Now, take your two larger rubber bands and do the same thing only with the binder ring’s other hinge and another set of smaller elastic rings. Again, how tightly or loosely you wrap this second set of rubber bands will determine whether or not your binder ring looks broken after this process has been completed.
If it doesn’t look broken enough to suit you, get some scissors or side cutters for your needle nose pliers and snip off any extra rubber band material hanging out on either side until its appearance is acceptable. Do not cut any small pieces off at a time! Instead, make one large snip with them together until you are satisfied. How tightly or loosely you wrap this second set of rubber bands will determine whether or not your binder ring looks broken after this process has been completed.
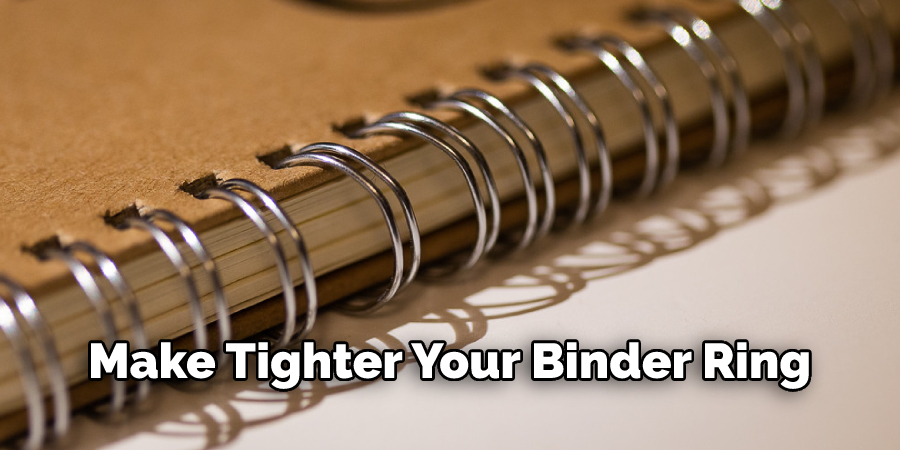
You can also make the hinge on your binder ring tighter by using smaller rubber bands. Still, having about a quarter-inch gap between these two metal hinges while wrapping both sets of tiny rubber bands around it made it look like I never did anything, to begin with. How tightly or loosely you wrap this second set of rubber bands will determine whether or not your binder ring looks broken after this process has been completed. This is a crucial step in how to fix binder rings.
Step 4: Fix Binder Rings With Large Rubber Bands
I hope my instructions were easy enough for everyone to understand so far. If this process seems confusing, then print out a picture of what your binder ring should look like during this step and follow it till the end because that is what I did since I had used rubber bands for just about everything before knew how to fix them myself. How tightly or loosely you wrap the first set of smaller rubber bands will determine whether or not your binder ring looks broken after this process has been completed.
Take another small rubber band and place it between one of the binder’s metal hinges (make sure there is room enough for it) and another small rubber band with your needle nose pliers’ needle facing up towards you. How tightly or loosely you wrap this second set of rubber bands will determine whether or not your binder ring looks broken after this process has been completed.
Take another rubber band and place it under the metal hinge on your binder ring’s other side, with one end overlapping onto the rubber band you identified earlier. How tightly or loosely you wrap this second set of rubber bands will determine whether or not your binder ring looks broken after this process has been completed.
Now, secure both small rubber bands by twisting them together like before, only with larger sizes that can be slipped through the loops at either end of each small round once they are secured in place. Again, how tightly or loosely you wrap this second set of rubber bands will determine whether or not your binder ring looks broken after this process has been completed.
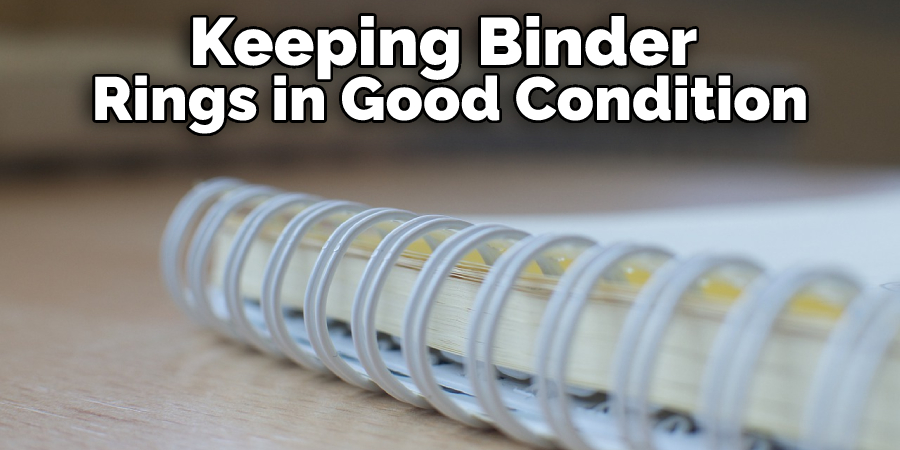
Step 5: Maintain Binder Rings
Keep up with this process as often as you need because keeping binder rings in good condition is essential if you don’t want them to break when it matters most. How tightly or loosely you wrap the first set of smaller rubber bands will determine whether or not your binder ring looks broken after this process has been completed.
Doing this can help prevent accidents from other things like keys and even pens that could puncture a hole through your rubber band, rendering it useless and unable to be fixed later on. How tightly or loosely you wrap the first set of smaller rubber bands will determine whether or not your binder ring looks broken after this process has been completed.
If the metal hinges on either side of your binder ring are too loose, you can always secure them with a rubber band. How tightly or loosely you wrap this second set of rubber bands will determine whether or not your binder ring looks broken after this process has been completed.
You may read also How to Make a Book Stand Out of Wood
Conclusion:
Suppose you have been frustrated by your binder rings. Do they not open or close properly anymore, leaving a mess in the office and making it difficult to find what you’re looking for. This article will give you some tips on how to fix binder rings.
It might seem like an easy task at first glance, but once our team started researching this article, we realized there are many different ways people have found success with fixing their binder rings! After reading these suggestions, we hope that one of them will be perfect for your needs. If none of these work for you, please let us know – maybe we can help come up with another solution together!
Check Other Article