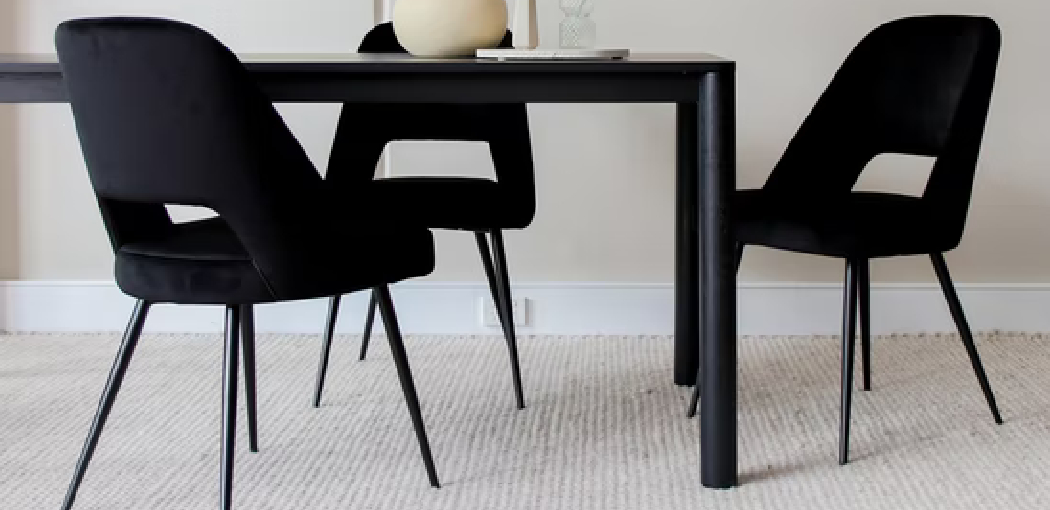
In this blog post, we will discuss how to stabilize metal table legs. You can use rubber stoppers, metal brackets, or wood blocks to stabilize metal table legs. Rubber stoppers can be bought at any hardware store and are probably the easiest solution. Metal brackets can also be found at a hardware store and need to be screwed into the bottom of the table leg.

Wood blocks can be made out of scrap wood or even a cut-up 2×4. First, measure the width of your table leg and make the block that size. You’ll also want to drill a hole in the block so that you can attach it to the bottom of your table leg with a screw. Whichever stabilization method you choose, it’s important to do so before using your table to avoid any accidents. Read on to know more!
10 Easy Methods on How to Stabilize Metal Table Legs:
1. Use a Round Wooden Peg:
Many people use this easy and cheap method. Just cut around the wooden peg and glue it to the bottom of the metal leg. This will provide more stabilization by adding extra weight.
2. Apply Furniture Glue to Legs:
Gluing metal table legs is another easy method that provides more stability by binding the contact area of the legs together so they cannot move apart. Apply glue to all four parts of each metal leg, let it dry, and reassemble it. Next, just spread some glue on the bottom of your metal table legs and stick it to a wooden board. This will also provide more stabilization by adding extra weight.
3. Add Rubber Feet:
These rubber feet can be easily attached to the bottom of your metal table legs using nails or any adhesive. These rubber feet provide a very good grip to the floor and prevent your table from moving or sliding.
4. Add Adhesive Rubber Bands:
Another easy method is to wrap some adhesive rubber bands around the bottom of your metal table legs. This will provide more stability by adding extra weight and friction between contact surfaces, providing a better grip on the floor.
5. Add Plastic Coasters:
Many people use this easy method because you need to stack some plastic coasters on each other, put them at the bottom of your metal table legs, and press firmly. This will provide more stability by adding extra weight, friction between contact surfaces, and a better grip on the floor.
6. Use a Metal Plate:
Instead of using the wooden peg, you can also use a metal plate to stabilize your table legs. Then, the only thing you have to do is drill some holes in it and screw them onto the bottom of your metal legs. This provides more stability by adding extra weight.
7. Add Coke Cans:
Using coke cans is one of the easiest methods because you have to stack up some coke cans on top of each other, then stick them to the bottom of your metal table legs with adhesive tape or glue. This provides more stability by adding extra weight and friction between tables and the floor.
8. Add Metal Bottle Caps:
If you want to use metal bottle caps instead, drill a hole in them and screw them onto the bottom of your metal table legs for stability. This will provide more stability by adding extra weight and friction between contact surfaces for a better grip.
9. Use Wood Screws:
This method is easy to do as well; all you have to do is screw your metal table legs onto a piece of wood. This provides more stability by adding extra weight and friction between contact surfaces, providing a better grip on the floor.
10. Use a Rock or Stone:
This is like the previous method but instead, use anything heavy like a rock or stone to keep it in place. This is also an easy and cheap method; however, you will need some glue for this method. So instead, use glue to attach the rock or stone onto the bottom of your metal table legs. This will provide more stability by adding extra weight and friction between contact surfaces, providing a better grip on the floor.
Extra Tips for Stabilizing Metal Table Legs:
1. Use mounting straps to attach wood or metal legs to furniture with solid tops.
2. Use rubber foot pads if the leg bottoms will be bearing weight on an uneven surface or in a wet area; looks nice too!
3. To keep additional legs from scratching up your floors, put some felt tip protectors (that can come with most table-leg sets) underneath the metal legs before sticking them on the floor.
4. Use furniture felt pads or rubber feet if you want to attach metal table legs to hardwood floors (or any smooth surface) without scratching up your floors; they can be found in most hardware stores.
5. To add a slightly more polished look to your metal table legs, you can spray paint the top of them if they are exposed in an area that others will see.
6. Most hardware stores stock small rubber bumpers, felt pads, and furniture feet that can fit underneath cheap metal table legs for an affordable and classy fix.
7. Cut a cork length into a triangle and stick it underneath the cheap metal table legs to raise a surface if you don’t want it directly on the ground; another idea is to use felt pads instead of cork.
8. Another quick fix for stabilizing cheap metal table legs is to glue or tape cork or rubber to the legs to raise a surface off of the ground; this idea is beneficial for dusty surfaces.
You may read also – How to Attach a Glass Table Top to Wood
Final Thoughts:
The best way to stabilize metal table legs is by adding a stabilizing wedge. However, if you don’t have the time or patience for this, other ways to get your furniture feeling sturdy and stable are finding surfaces that will provide more stability. For example, tables with round bases should be placed on carpeted floors rather than hardwood ones.
If you have a wobbly table, it could be because the screws in your base are loose. Tighten them by turning clockwise and see if that helps stabilize your metal legs! We hope that this guide on how to stabilize metal table legs was helpful in giving you proper instructions. If you have any questions or want to know more, please feel free to comment below!
Check Out Other Article –