There are many different ways to make a book holder for reading. In this article, we will show you two other methods of how to make a book holder for reading. The first way is using cardboard, and the second way is using a clipboard. We will also give you some tips on making your book holder more comfortable to use.

So, whether you are a student who wants to keep your textbooks open while studying or someone who enjoys reading books for leisure, read on for some helpful instructions!
Things You’ll Need:
- An old magazine or newspaper (or even new)
- Stapler
- A ruler/straight edge for cutting the magazine/newspaper (optional depending on desired design of holder)
- Decorative tape (optional)
A Step by Step Guide on How to Make a Book Holder for Reading
Step 1: Determine How You Want Your Book Holder to Look
Decide how you want your book holder to look before cutting the magazine/newspaper. Once you’ve decided on a design, cut out three pieces of paper similar in size (or layer the pieces on top of each other) that will be used for your tri-fold. The final piece should measure 6 inches by 6 inches, with the height being determined by the length of the smaller pieces stacked together. All three pieces need to be exactly alike in shape and size to be assembled correctly.
Step 2: Assemble Magazine Holder
Take one sheet of newspaper or magazine, open it up, and lay it flat with the front side facing upward. Fold this piece in half, so the front side is now on the inside. Fold it in half again so that your book holder includes three layers of paper with creases running horizontally across the width of each sheet.
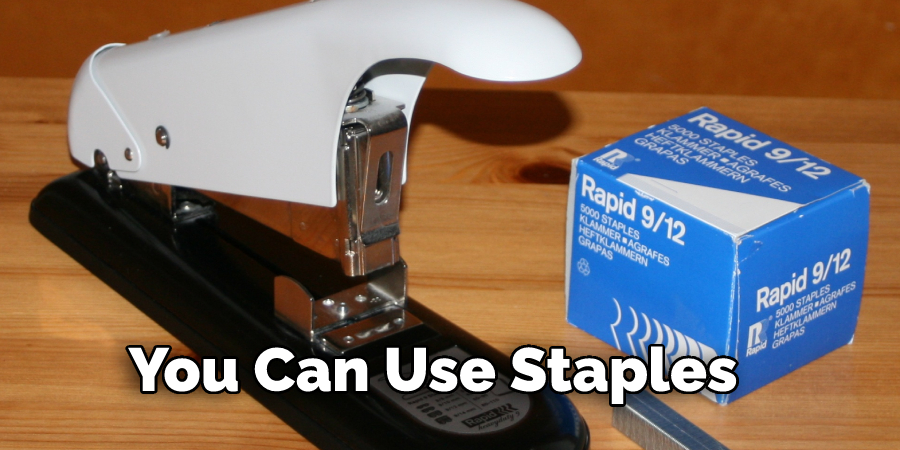
Step 3: Staple Magazine Holder
Using either stapler or binder clips, secure the middle layer as a base to prevent any shifting, which could distort your tri-fold design. You can use staples/binder clips for all three layers, but you will have to adjust accordingly depending on how thick you want your final product to be. If using staples/binder clips, staple them to one side and then rotate 90 degrees and staple diagonally along where those two sides meet until the staple is fully secured. Repeat this with the other two sides.
Step 4: Check for Accuracy
Once each side of your tri-fold design is stapled tightly to prevent any shifting, lay it down flat and check that the edges are perfectly even. If they are not, you can remove staples/clips and reposition them according to how they need to be adjusted to have all three layers equally straight. Once you are happy with how straight your edges are, reattach binder clips or staple at the center bottom where all three layers meet without distorting the fold. Repeat this with all three sheets so all three dimensions will match perfectly when finished.
Step 5: Add Decorative Touches
After securing the magazine holder together, trim off the excess paper if necessary, so there is only a small border around the edges of your book holder. You can use decorative tape to cover up any staples or excess paper, but this is optional and will not affect the function of your tri-fold design. You can also use decorative tape along the edges to accentuate your design. Once you have done this, you are finished!
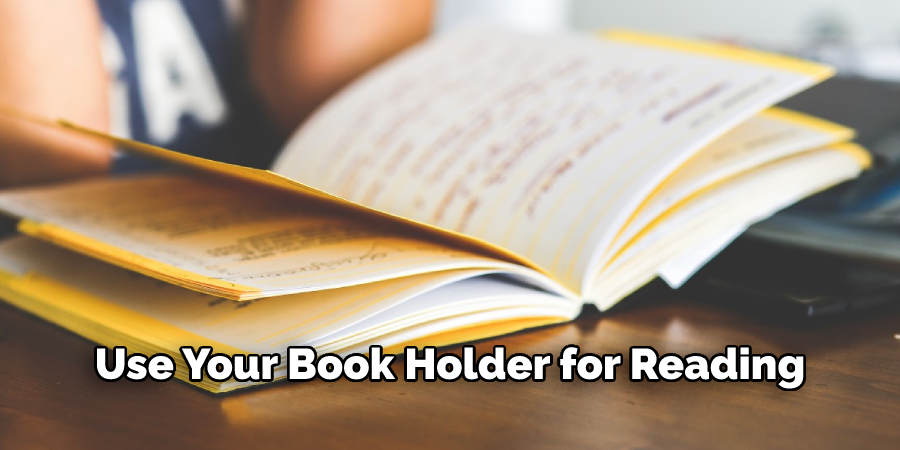
Step 6: Use Your Book Holder for Reading
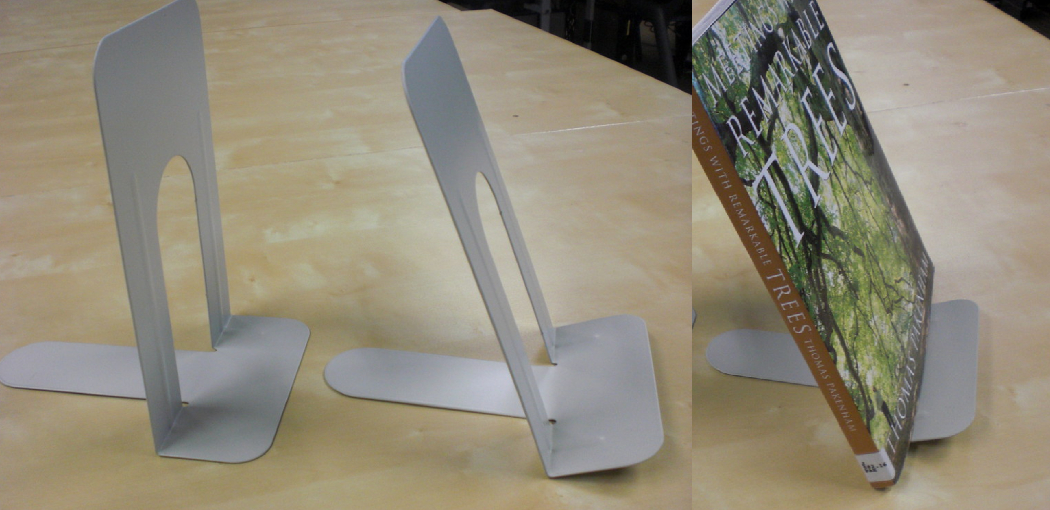
Using your tri-fold book holder is simple. When you are ready to read, place open pages down first and then fold the other side, so your reading material appears as if it is floating in midair! You can also use this at a dinner table or on a cluttered desk by creating a base with books/objects underneath, similar to how you would use a bookend.
This will ensure your pages stay open without having to hold them down. It is important not to overuse this product since the weight of your hands could cause extra strain on specific pages that may be more delicate than others. If one side gets close to closing, simply unfold that side and rest both sides down flat. These steps will help in how to make a book holder for reading.
Additional Tips:
– Using a drill with a screw bit, poke two holes in the dowel rod that are just small enough that your zip ties can fit through them.
– Place the wooden dowel rod underneath the couch cushions, then place one of your bricks on it.
– As you are pressing down on the brick to hold the book holder in place, loop one of your zip-ties around both ends of the dowel rod. Make sure it is nice and tight so no movement can occur after this point.
– Use another zip tie to secure the first one further down along where both pieces of wood meet on each end of the dowel rod; make sure this is also very tight. This will keep your book holder from moving laterally.
– With the book in its original position on top of your book stand, loop a zip-tie around the dowel rod a few inches below the hardcover and tie it to one of the two holes you drilled before.
– Repeat on the other side with another zip-tie.
Warnings:
- Place the dowel rod as far down as possible, or you will hit your floor when you lay down.
- This book holder is only meant to be used under a couch cushion and should not be used on top of one.
- Make sure that if your book is more significant than average, you don’t loop the zip-ties right around its spine; leave extra room for pages. Doing so will tear up those pages!
You may read also How to Make a Book Stand Out of Wood
Conclusion:
The result is a book holder that will be fun to make with your kids and last for years. It’s made of durable materials, so you won’t have to worry about it breaking down after just one use! You’ll love how easy this project is to make a book holder for reading- even if you’ve never assembled anything before in your life. Give it a try today!