
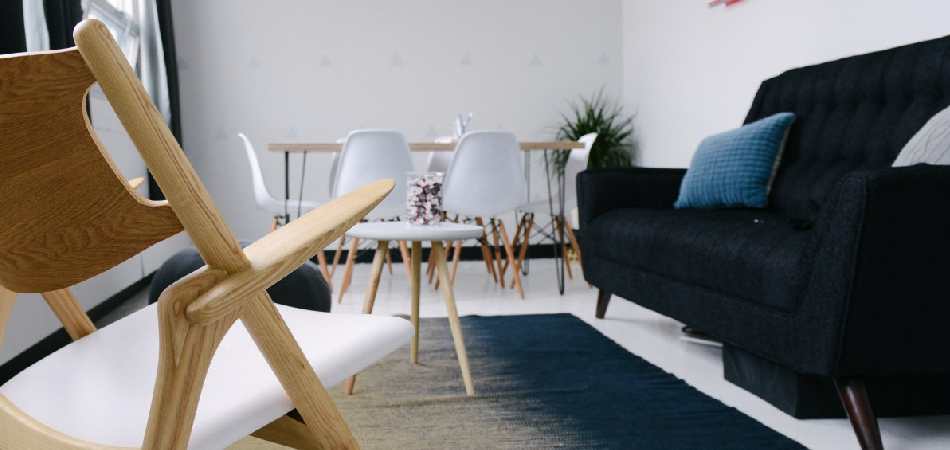
Wooden chairs are a staple in any home. They provide comfort and style and can last for years with proper care. However, sometimes accidents happen, and the arms of a wooden chair may break off. First, remove the old arm from the chair and measure its length and width. Then, cut a new piece of wood to those dimensions and sand all sides until smooth.

Glue the new arm in place using wood glue and clamps, let it dry overnight, and then paint or stain it to match the other chair arms. Don’t worry; there is a way to fix it if this happens to you! In this blog post, we will walk you through the steps necessary on how to fix a wooden chair arm. Keep reading to learn more.
10 Easy Ways on How to Fix a Wooden Chair Arm:
1. Unscrew the Arm From the Seat:
A simple way to fix a wooden chair arm is by unscrewing the arm from the seat. To do this, you will need an adjustable wrench, screwdriver, and safety glasses. The safety glasses are required because when you disassemble the wooden chair, it may fall apart, and debris can fly into your eyes.
2. Remove Contact Adhesive:
Before you fix the chair arm, you will need to remove the contact adhesive. To do this, use a heat gun or oven cleaner. Make sure that any chemical you use is safe for the material your furniture is made of. For example, you can use leather cleaner on wood materials but never use chemicals to clean glass or metal on wood.
3. Sand the Contact Area Smooth:
After removing the contact adhesive, sand the surface smooth to ensure that your bonding adhesive holds. Next, use a sander or fine-grit sandpaper to remove all sharp edges that would prevent you from adding glue without it sticking to itself. Be sure to vacuum up any sawdust created during this process before moving on to the next step.
4. Apply Bonding Glue:
Before adding any glue, could you test it out on a scrap piece of wood? Ensure that the glue you use is appropriate for the material that your chair is made of and follow all instructions given by the manufacturer. The bonding agent should dry clear and be thick enough to hold but not so thick that it will not seep into the crack. If you can, use glue with polyurethane to ensure that your bond is as strong as possible.
5. Sand Down Any Rough or Sharp Edges:
Before you reassemble the chair with your new wood arm, sand down any sharp or rough edges that may prevent the pieces from fitting together. Use fine-grit sandpaper to ensure that all surfaces are smooth before applying pressure. You will also need to clean away sawdust created during this process before reassembling your chair.
6. Reassemble the Wooden Chair Arm:
After cleaning away all sawdust, reassemble your chair arm by screwing it back into its original position. Once again, be sure to test this out on a scrap piece of wood before applying any pressure to the wood arm itself.
7. Screw On the Arm Rest:
After reassembling your chair arm, screw on the armrest back into place using a screwdriver. Make sure that all screws are secure and do not stick out from the bottom of your wooden chair arm. You can then screw in any removed pieces to tighten up your chair while you work.
8. Add Lubricant to Prevent Future Slipping:
Once you have successfully fixed your wooden chair arm, add lubricant to the moving parts of your chair. This will help prevent it from sticking in the future and ensure that your chair arm moves smoothly when adjusting it.
9. Add Rubber Bumper Protection:
A rubber bumper is an easy way to prevent your chair arm from ever slipping again. To add the protection, use a drill and drill bit that matches the width of your rail. Drill holes in between each rung on your chair arm before you tighten it back into place with screws or bolts. The protective bumpers will prevent the chair arm from slipping and protect your hands simultaneously.
10. Add a Coating of Plastic Dip:
A more permanent option for fixing wooden chair arms is a metal plastic dip. The coating will help protect your wood furniture from moisture damage, scuffs, and stains.
To do this, decide how you want the metal-plastic dip to look on your furniture. For example, if you would like color in between each rung of your chair arm, use a paintbrush and apply the coating in thin layers. Allow it to dry in between coats for best results before adding more.
Some Tips and Suggestions:
Here are some tips and suggestions on how to fix a wooden chair arm.
1. Typically, metal chairs are made of steel rods.
2. The bolts tend to splinter or break the wooden arm if they are tightened too much.
3. If you tighten them (bolts/screws) too tightly, then they will begin to push through the backside of your chair arm and, on some occasions, loosen on their own.
4. When tightening screws on your wooden chairs, try not to tighten them too much or too hard with a screwdriver, as this can also lead to splitting and cracking the chair arm.
5. If the wooden chair arms are in bad shape, you may need to cut them off and replace them with new ones.
6. You can try applying some wood glue on the split pieces of the arm of the wooden chair before reattaching it again; this will ensure that your wood will not split when tightening screws around it.
7. If you have wooden chairs arms that are loose or wobbly, it is most likely due to a stripped set screw on the part where the arm meets the chair itself.
8. If the screw is stripped, you will have to replace it with a new one.
Can You Repair a Broken Wooden Chair?
Sturdy, old wooden chairs are beautiful pieces of furniture that have the potential to last decades if properly cared for. One significant component of these chairs is the armrest or elbow, which is often attached by metal screws to the chair’s legs. Unfortunately, over time, this connection can begin to weaken and eventually give way completely.
If you have a chair in the home with a broken armrest, it can make your furniture not only uncomfortable to use but unsafe. This is especially true for chairs with turned spindles. A turned spindle chair often has one broken arm (arm) or back (back).
If the other arms look good and the chair seems sturdy, you may be able to replace just one broken arm. You can remove one broken armrest from each side of the chair. If this is possible, use a carpenter’s level that has been placed over the arms to balance the chair when you rest it on that pair of arms.
How Do You Fix a Loose Arm on a Chair?
Loose arms on wooden chairs can be concerning because they are not as strong as the rest. If you’re wondering how to fix a loose arm, look for ways to tighten the joint first before placing any large objects or heavy items on it. If this doesn’t work, you might need to disassemble and reassemble the entire arm.
Steps to Tighten the Joints of the Loose Arm:
Step 1:
Examine the arm. You can visually inspect it or tighten it by hand to see if any screws, bolts, or joints are loosened.
Step 2:
If you notice a loose joint has a visible screw, use a screwdriver to tighten it. If you have trouble pulling it by hand, use a wrench or pliers to get a better grip on the screwdriver.
Step 3:
If there aren’t any visible screws, bolts, or loose joints, you can create one using glue. Try using wood glue or E6000 for this task. Apply it in the area where the arm attaches to the seat and give it at least an hour to dry before using the chair.
Step 4:
Test that you’ve fixed the issue by pressing on the joint with your palm. If there is a visible gap between them, you need to let it dry longer or glue a strip of wood along with the parts where they meet.
Step 5:
If you’re still having problems, this could mean that the arm is not attached to the seat correctly. Turn over the entire chair and examine its bottom for screws or bolts. You may need to take them out then reattach everything properly before starting over.
Step 6:
If this doesn’t work, you might need to disassemble the arm completely. Remove all of the pieces and start by reattaching any loose joints.
You may read also – How to Level a Chair When Assembling
Conclusion:
This article has provided some handy tips that can help you how to fix a wooden chair arm. You now know how to identify the problem, what tools are needed, where they should be stored for future use, and how to complete the task with ease.
If these steps seem overwhelming or confusing at any time, don’t hesitate to ask your local furniture expert for assistance! If you cannot tighten them yourself, find someone with expertise in carpentry which has experience fixing chairs and ask for help.
