
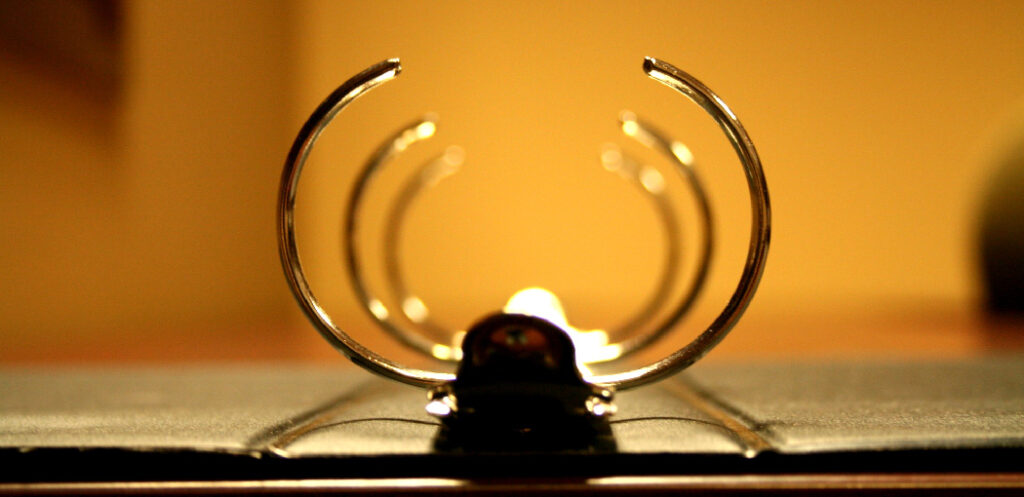
Binder rings are a great way to keep papers together, but they can be a pain to remove. In this blog post, we will discuss how to remove binder rings. If you’re having trouble getting them off, a few tips might help. First, try using some lubricant.
You can use petroleum jelly, baby oil, or even shampoo. Another option is to use heat. You can put the rings in the oven for a few minutes or use a hairdryer on high heat. Finally, if all else fails, you can try using pliers or wire cutters to get them loose. Just be careful not to damage the documents inside! Read on to know more!
6 Methods on How to Remove Binder Rings:
1. Using Pliers to Pry the Ring Open:
If you have a pair of pliers, open the pliers as wide as possible and place them on one side of the ring. Then, using a prying motion with a downward force, try to pop one side of the ring off. Continue popping all sides until your ring comes off or it doesn’t work after trying for 10 minutes.
2. Using a Ruler and a Knife:
This method takes a little more effort, but it can be done without damaging your binder rings too much if you go about it the right way. First, take an ordinary plastic ruler and place the non-sharp edge of the ruler against the ring so that it’s inside one of the rings.
Then take a standard non-sharp knife and slide it between the ruler and ring as if you were trying to cut into the ring, but instead of cutting into it, try to pry open one side using a pushing motion. Keep going until your binder ring pops open or your ruler and knife break in half like mine did.
3. Shaving off the Ring With a Utility Knife:
This method is not recommended because it can damage your binder rings or leave them unusable. But, if you wanted to try this method, I would suggest some protective eyewear and gloves while doing so.
This method takes a little effort, but you want to make the smallest incision possible between the ring and binding posts on one side of the ring. Once you’ve made the incision, you want to try and pry open one side using a pushing motion. Do this on all sides until you are frustrated or until the plastic makes its way to your fingers, causing them to bleed profusely.
4. Remove Binder Rings with Hand:
Using the flat part of your palm, slide it between the binder ring and paper clip. Once you have a firm grip on both sides, pull the rings apart while applying a slight prying force. If you’ve been doing it correctly, one side of the binder ring should pop off, allowing you to remove the clip from your paper stack without destroying anything except for some finger skin from trying too hard.
5. Using a Pair of Scissors:
This method can be used to remove standard or smaller-sized binder rings. Take your scissors and place one blade inside the ring, then slowly try to cut one side off at a time until the ring comes off. If this fails, give up and go curl into a ball into the corner of your office and cry yourself to sleep.
6. Using a Binder Ring Removal Tool:
This method is by far the easiest way to remove binder rings. However, it is also the most expensive in my opinion. I’ve seen people in my workplace who have them in their desk drawers just in case they need to remove them (which is unlikely based on the percentage of people who remove binder rings). These can be purchased at office supply stores or even department store chains.
Step by Step Guide: How to Remove Binder Rings
Step 1: Identify the Binder Ring
There are two ways to identify if your binder ring has been crimped. The first way is to look for the impressions on the ring itself simply. They should be evenly spaced and form a circle if you were to connect them. If there are any misalignments or holes, it has likely been crimped. Another way is to look at the binder ring from a different angle and see if the metal rings overlap.
Step 2: Separate and Open
Now that you’ve identified that the binder ring is crimped, you’ll want to separate it and open it. One way to do this is with a paperclip or needle-nose pliers. If you don’t have either of those items available, there are other methods such as using keys, coins, and even your teeth.
Step 3: Crimp and Close
After taking the crimp out, you’ll want to close the binder ring back together again. Again, using pliers is the best way to do this as it will be easier to grip, but if those aren’t available, any other similar object such as a key or pen will work.
Step 4: Enjoy!
Once you’ve closed it back together, all there is left to do is enjoy the product because your work is done! There should no longer be sharp edges or any binder rings slipping open.
What Things Should you Know Before Removing Binder Rings?
The key to removing binder rings is patience and precaution. Opening the rings causes them to become loose enough so that they can be removed, but if you rush it or aren’t careful with how you do it, you could end up cutting yourself or damaging whatever was holding the binder ring in place in the first place.
You should be aware that it is possible to cut yourself because the opening and closing of binder rings cause them to become sharp. Also, you should know that there are different ways to remove binder rings depending on what type of binder ring they are. You can find out more about this by reading this article on how to remove binder rings.
You may read also What Is a D Ring Binder
Conclusion:
In conclusion, binder rings are a necessary part of the office supply world. They keep papers from slipping out and can be removed with relative ease by following these steps! Remember always to work organized when removing binders so you do not lose any documents or information.
Now that you know how to remove binder rings, you can start your project right away! Be sure to practice the techniques we showed you until they become second nature. With a little bit of patience and some perseverance, you’ll be able to take any old binder and turn it into something new and exciting. Have fun with it!
Check Related Aeticle How to Fix Binder Rings