
When it comes to owning a paper cutter, one of the most important things you need to know is how to replace the blade when it becomes dull. Luckily, this process is easy and can be done in just a few minutes. In this blog post, we will walk you through the steps necessary on how to replace paper cutter blade and get you cutting again in no time.
So, whether you are a business owner who depends on your paper cutter for day-to-day operations or simply someone who enjoys DIY projects, read on for all the information you need to know about replacing your paper cutter blade!
10 Reasons Why You Need to Replace Paper Cutter Blade:
1. Your paper is thin, and cutting through it takes too long.
2. You have been having difficulty cutting a thin setup board as it gets stuck between the blade and the ruler you are using as a straight edge.
3. Despite your efforts to keep cutting precise, your paper edges have become jagged due to a dull blade.
4. You have been using the same blade since buying the paper cutter.
5. You cannot cut photos precisely because of a highly dull blade.
6. You need a better way to clean your blade without causing too much stress or strain on yourself, so you are looking for alternatives to scrubbing it with oil.
7. You want to save yourself the hassle of buying another paper cutter, as this one has been with you for a long time now.
8. You are tired of buying a new blade because you accidentally dropped your cutter on the floor, causing it to break.
9. Your paper cutter’s blades do not seem to be aligned anymore, so you need to ensure its replacement will make cutting precise again.
10. You find your current blade too heavy for your paper cutter.
Required Tools and Supplies:
- Phillips Head Screwdriver
- Sharp Scissors or Exacto Knife
- New Blade
- Tweezers
- Newspaper or Other Surface to Catch Spilled Blade Fragments
Step by Step Guide: How to Replace Paper Cutter Blade
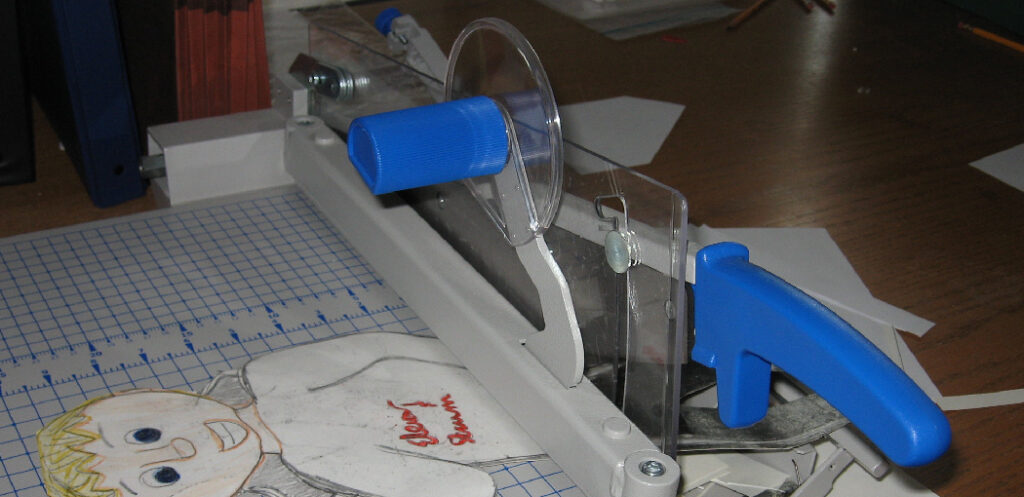
Step 1: Locate the Blade
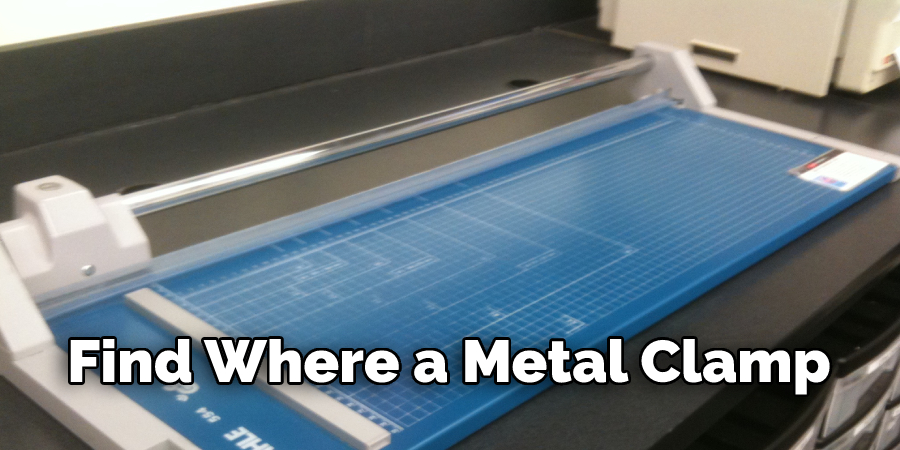
The paper cutter has the blade in the lower right-hand corner when facing it. First, find where a metal clamp holds the blade in. Sometimes it can be hard to find, so you may have to look inside the cutter’s housing and check for a C-shaped ring holding the blade in place.
Step 2: Loosen Clamp
Find where the paper cutter has its clamps that hold the blade in place. Remove these clamps by loosening them. It can be difficult to remove them, so use a screwdriver or other sturdy tool to pry them off.
Step 3: Loosen the Screws
Once all of the clamps have been removed, locate any screws that are holding the blade in place. These screws will be located near where the clamp was. Use a screwdriver to remove these screws and then pull out the blade.
Step 4: Remove the Blade
Grab the blade and pull it out. Next, grab the new blade and then place it into the paper cutter’s housing. You will probably need to tighten the screws by using a screwdriver to hold them in place while you tighten them with another tool or even your hand.
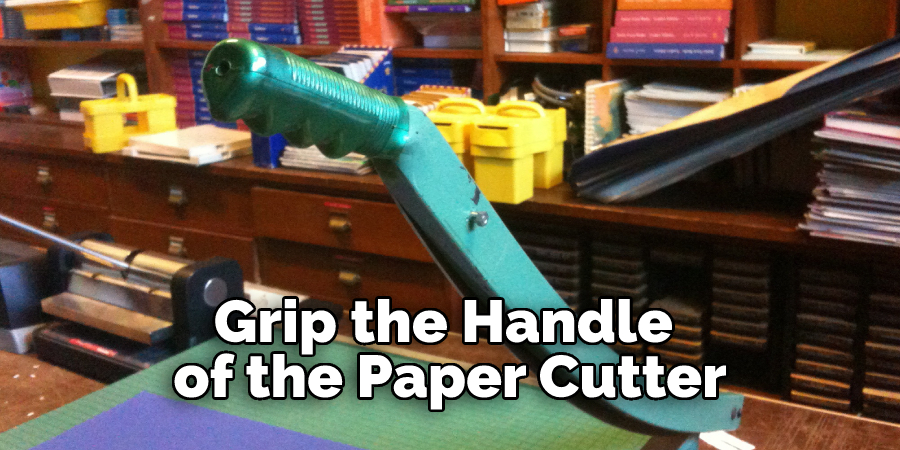
Step 5: Grip The Blade Handle
After placing the blade back in its housing, grip the handle of the paper cutter and use it to push down on the brand new blade. Make sure that there is the pressure between the blade and surface so that it can cut properly once turned on.
Step 6: Replace All Screws and Clamps
Once you have tested the blade and it has passed its test, replace all of the screws and clamps removed in step two. Clamp them tightly and then turn on the machine to ensure they are working properly.
Step 7: Tighten Everything Up
Once you have checked that everything is in place and that there are no loose screws or clamps, tighten them until they won’t go any tighter. If you have the proper screwdriver for this process, use it to avoid injuring your hands.
Step 8: Turn on and Test Blade
After everything has been tightened down correctly, turn on your paper cutter and test out all of its functions. Ensure that it is working properly, and then replace the packaging on your new blade to keep it protected until its next use.
Some Helpful Tips and Suggestions:
1. Usually, there is a small screw that holds the blade in place. Make sure to loosen them before pulling out the blade.
2. When you put the new blades in, make sure they face opposite directions; otherwise, it won’t cut correctly.
3. Most blades have numbers on top; this will tell you what size the blade needs to go in the slot.
4. After you put in your new blades, test them out before giving them to a coworker (or yourself).
5. Don’t forget to tighten all of the screws after putting in your blades.
6. Check the blade frequently, and if it is in a high-traffic area, you should probably change it every week or two. If you do not use the cutter very much, it might be good to check with your supervisor about getting them sharpened instead of purchasing new blades.
7. Don’t attempt to cut anything too thick; this can cause the blade to break or snap.
8. Make sure to change out both blades simultaneously; otherwise, it will tear up your paper when putting in a new blade.
You may read also How to Unlock Paper Cutter
Conclusion:
If you use scissors often, they will eventually need to be sharpened or replaced. The same is true for paper cutter blades as well. Paper cutters are a big investment and should last for years if taken care of correctly. However, if the blade on your paper cutter has become dull, it’s time to replace them with new ones!
The first step in replacing the blade is ensuring that the machine’s cutting arm moves freely up and down when turned on. Next, remove any old blades by unscrewing them off from both ends while holding onto one side, so they don’t fall out of place-they may have been screwed tightly into place before, which makes removing more complicated than necessary.
Finally, make sure not to lose any screws while performing the repair. We hope this blog post on how to replace paper cutter blade has been helpful. If you have any questions or want to know more, then feel free to comment below!
Related Article How to Cut 100 Sheets of Paper