
Do you want to impress your friends with a fantastic hologram? Of course, you do! But how do you make one? It’s quite simple. All you need is a printer, some transparent plastic film, and a little bit of imagination. In this article, we’ll show you how to print a hologram on paper using everyday materials. Stay tuned for some seriously incredible results.
A hologram is an image that appears to be three-dimensional and moves as you look at it from different angles. It is created by splitting a laser beam into two parts, directing one part onto the film, and the other onto a mirror. When the two beams intersect, they create an interference pattern recorded on the film. This pattern is reconstructed when the film is illuminated with a laser beam and creates a holographic image.
Things You’ll Need:
- Printer
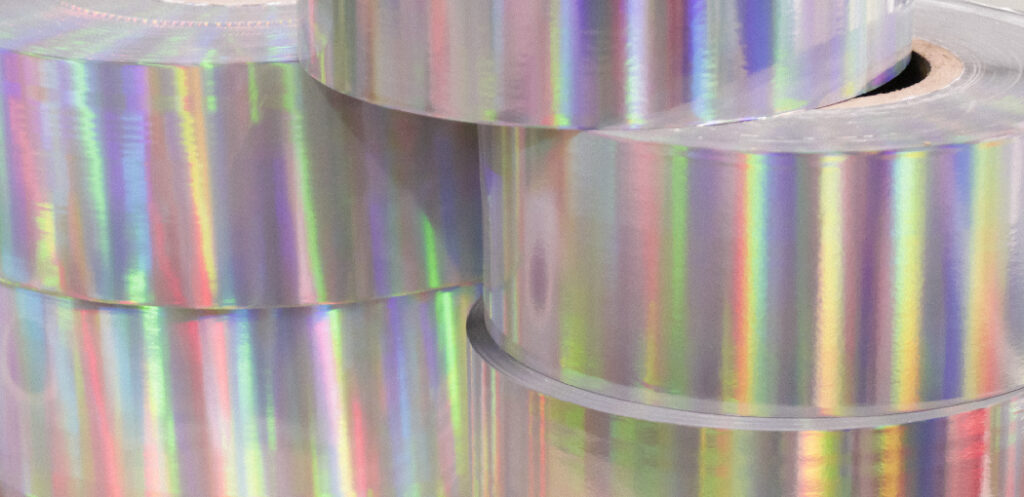
- Hologram film
- Scissors
- Tweezers
- Paper
- Transparency marker
A Stepwise Guide on How to Print a Hologram on Paper
Step 1: Determine the Size of Your Hologram
Before you can print a hologram, you first need to determine the size of your hologram. This is quickly done by tracing the desired hologram onto a transparency marker.
Step 2: Cut Out the Hologram Film
Once you have determined the size of your hologram, use scissors to cut out the hologram film. Be sure to leave an extra margin on all sides to have enough room to attach it later to the paper.
Step 3: Apply the Hologram Film to the Paper
Next, use a transparency marker to trace the outline of the hologram onto the paper. Once you have done that, use tweezers to carefully attach the hologram film to the paper. Make sure that it is appropriately aligned before moving on to the next step.
Step 4: Print the Hologram
Now it’s time to print the hologram. Place the paper with the attached hologram film into your printer and hit print.
Step 5: Cut Out the Hologram
Once the printing is finished, use scissors to cut out the hologram. Be sure to leave an extra margin on all sides to have enough room to attach it to the paper later on.
Step 6: Attach the Hologram
Finally, use a transparency marker to trace the outline of the hologram onto the paper. Once you have done that, use tweezers to carefully attach the hologram film to the paper. Make sure that it is properly aligned before moving on to the next step.
Step 7: Enjoy Your Hologram!
Now that you have successfully printed a hologram on paper, it’s time to enjoy the fruits of your labour. Be sure to show off your creation to your friends and family!
Tips and Warnings:
- If you want to print a hologram on paper, you will need unique materials and equipment.
- Always use caution when working with lasers, as they can cause injury if not handled properly.
- Ensure to keep your work area clean and organized, as any stray particles or dust can interfere with the printing process.
- It is important to note that not all holograms are created equal – some may be more difficult to print than others. Be patient and experiment until you find a method that works for you.
With the proper supplies and patience, anyone can learn to print a hologram on paper! This remarkable effect can add an extra level of intrigue and excitement to your projects, so why not try? Just follow the safety precautions and take your time when experimenting – holograms are not something you want to rush. Thanks for reading, and happy printing!
How Do You Print Partial Holographic Stickers?
To print a partial holographic sticker, you will need a printer that can print on transparent material. You can then create your design in a software program such as Adobe Photoshop or Illustrator. Once you have created your design, you will need to print it out onto a Transparency Film.
After that, you will need to cut out the shape of the sticker with scissors and then peel off the back of the film so that the sticker is now adhesive. Finally, you can stick the sticker onto whatever surface you would like!
If you want to create a full holographic sticker, you will first need to make your design in a software program. Once your design is finished, you will need to print it out onto a piece of paper. After that, you will need to cut out the shape of the sticker with scissors. Once you have done that, you will need to glue the holographic film onto the back of the paper. Finally, you can stick the sticker onto whatever surface you would like!
How Does a Hologram Work?
Light from the laser is split into two parts by the diffraction grating. One part of the light passes through the diffraction grating and strikes the photographic plate directly. The other part of the light is reflected off the photographed object and passes through the diffraction grating again. This second beam of light interferes with the first beam, causing some of the light waves to cancel out and some to reinforce each other.
The photographic plate records the intensity of light at different points, so a hologram is a picture of the interference pattern between the two light beams. When you look at a hologram, you see the object photographed as if it were three-dimensional. The hologram appears to be floating in space, and you can even see behind it!
How Expensive Is a Hologram?
Holographic images are created by splitting light into two beams. One beam is reflected off the object, and the second beam is used to create the hologram. The two beams are then recombined to create the 3D image. This process is what makes a hologram so expensive to produce. It requires very specialized equipment and a lot of time and effort. However, if you want to make your hologram at home, there are a few ways to do it that are relatively inexpensive.
You may read also How to Place Paper in Printer
Conclusion:
We hope you have learned how to print a hologram on paper. Try printing a hologram on paper if you’re looking for an exciting way to show off your 3D printing skills or want to impress your friends and family. It’s a fun project that is surprisingly easy to do. It would be best to have a 3D printer, some holographic film, and a few simple supplies. So get creative and have some fun with it!